How to Get Your Yosemite Backpacking Permits: A Step-by-Step Guide
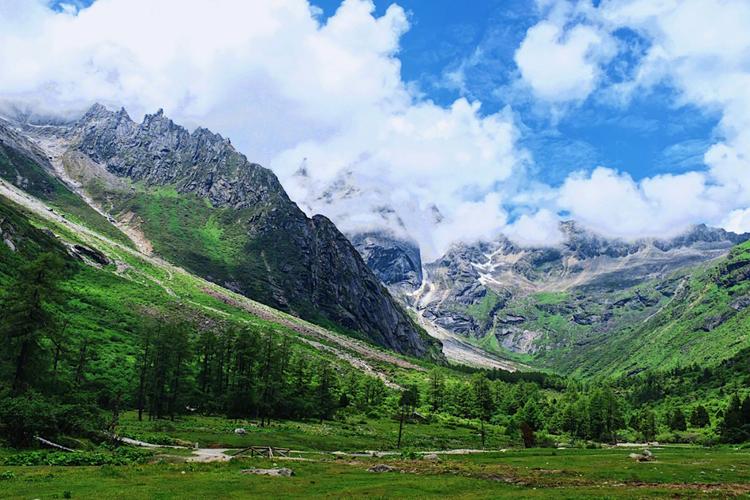
Backpacking in Yosemite National Park is an unforgettable experience. The beauty of the granite peaks, clear streams, and lush meadows is unmatched. However, obtaining the necessary permits for your trip can be a daunting task. In this article, we will take you through the process of getting your backpacking permits for Yosemite National Park.
Step 1: Plan Ahead
Yosemite National Park is one of the most popular parks in the United States, with more than four million visitors each year. Therefore, it is essential to plan your trip as far in advance as possible if you want to secure your desired dates for backpacking.
You can choose to apply for a wilderness permit up to 168 days in advance, with the earliest reservation date being March 1 for trips that fall between May 1 and June 15. For trips scheduled between June 15 and October 31, the earliest reservation date is March 15.
It is essential to note that permits are issued on a first-come, first-served basis. Therefore, the earlier you apply, the higher your chances of getting your desired dates.
Step 2: Choose Your Backpacking Route
Once you have an idea of when you want to go backpacking, you need to decide which route you want to take. Yosemite National Park has various trails that lead to different backcountry destinations.
You can explore the park’s official website for backpacking trails, maps, and route descriptions. You can also consult with experienced backpackers, park rangers, or tour guides to help you choose a route that suits your level of expertise and physical fitness.
Step 3: Create an Itinerary
After choosing your backpacking route, you need to create a detailed itinerary that includes information such as the number of days you plan to stay, campsites, and alternate routes.
Your itinerary should also include a list of emergency contacts, including family members, friends, and the park’s authorities. You can also leave a copy of your itinerary with someone who is not on your trip but can provide emergency support if needed.
Step 4: Apply for Your Yosemite Backpacking Permit
You can apply for your Yosemite backpacking permit online through the park’s official website.
You need to provide detailed information about your group size, dates of entry and exit, trailhead, and campsites. The park also requires you to pay a non-refundable application fee, which varies depending on the size of your group and the number of days you plan to stay.
After submitting your application, you will receive a confirmation email with instructions on how to pay the balance of your permit fees. Once you have paid your fees, you will receive your permit by email.
Step 5: Pick Up Your Yosemite Backpacking Permit
Lastly, on the day of your trip, you need to pick up your Yosemite backpacking permit at the appropriate ranger station. The ranger station will provide you with a safety briefing, a bear canister, and any other necessary information to ensure your safety while backpacking in the park.
In conclusion, getting your Yosemite backpacking permit requires some planning and preparation. However, following these steps ensures that you get your desired dates and routes without any inconvenience. With proper planning and preparation, you can backpack in Yosemite National Park and experience its natural beauty to its fullest.